The gates are opening.
A sea of fans wait in anticipation as the mascots get into formation.
Faces painted in the team colors cheer loughly. What’s that? A bird? A plane? A balloon spaceship?
Nope.
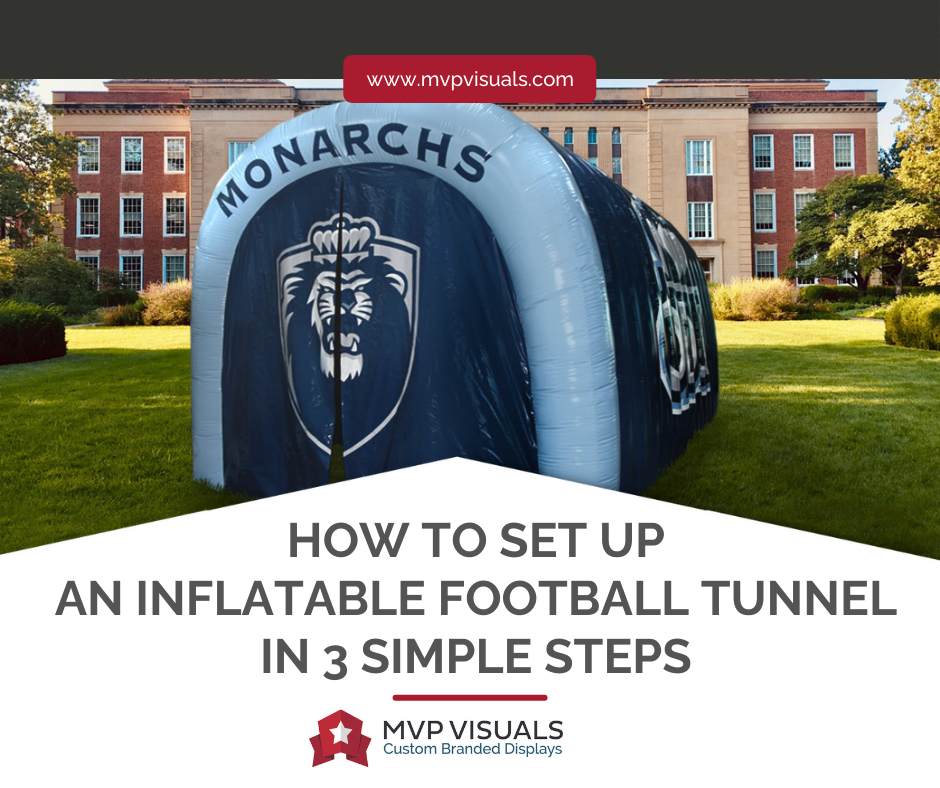
It’s an inflatable tunnel!
A neat adornment bound to grab any spectator’s eye and proudly display your team’s competitive spirit.
With printed PVC spanning a few dozen feet, you can stake your claim before the game.
But how do you set it up?
Step 1 - The Prep Stage

Green Inflatable Tunnel Printed Using MVP’s Proprietary Dye Sublimation
Prepping The Pitch
First things first, make sure that you have the right permissions to erect your inflatable tunnel.
Confirm with the relevant authorities (match organizers, stadium officials) to help you map out the pitch and mark areas that might be unsafe.
Once you’ve found the right spot, clean it. Dust it thoroughly and inspect it for anything that could damage your tunnel post-set-up, such as:
- Debris
- Wooden sticks
- Sharp-edged pebbles
- Fallen tree barks
- Sharp metallic parts
Prepping the Blower (+ Generator)
Inflatable football tunnels are quite sizable so smaller-scale air blowers—like you would use for an inflatable boat or mattress—won’t cut it.
For a tunnel, you’ll want to opt for an industrial air blower. We include one of these with every inflatable order. Next, you’ll need to power it.
Your concerns here are two-fold: pressure and power.
Blower Pressure
The time to fully blow up your custom inflatable tunnel is determined by your blower’s standard air pressure, which is determined by the size of the inflatable tunnel and its air circulation apparatus.
In other words, does it have a sealed design or a continuous-airflow design?
- Sealed inflatables have pressure valves that take in air at maximal pressure and trap it in for as long as they remain closed and undisturbed.
- Continuous-airflow inflatables have an in-built fanning system that allows air to escape automatically when it gets too hot or inflated.
For instance, a giant tunnel (approaching 20 ft or more) that consists of several composite units will likely have a continuous-airflow system.
This would need several heavy-duty blowers with generator-supplied power to each unit (see the next heading).
Powering the Blower
With a smaller inflatable tunnel you might get away with using a 240 V mains direct-to-outlet connection, but with larger tunnels, you're much safer using a generator.
Granted, this will mean some extra noise during the game, but in a 10,000 square-yard field it won’t matter much.
For comparison, see how generator power requirements vary across differently sized tunnels:
| Inflatable Size | Appropriate Generator Size (Kilowatts) |
| Average-sized tunnel (approx 10 ft by 10 meters) | 5 |
| A helmet + tunnel | 10 |
| A super-sized tunnel (approx 15 ft by 20 meters) | 50 |
REMEMBER to monitor your generator’s gas levels every half-hour or so.
Step 2 - Blowing Up The Tunnel

Interior Perspective of a Green Football Tunnel
Unfurl your inflatable tunnel, lay it strewn on your chosen site on the field, and make sure your blower is connected to the generator.
Place both machines atop a stable underlay, preferably on a hard piece of Styrofoam a few inches above the ground.
To begin blowing up your sports inflatables, here’s what to do:
- Locate the suction/entry latches on your inflatable and unfurl the blower’s cabling so that it leaves enough length to lay comfortably on the ground.
- Connect the blower’s nozzles to the inflation valves and fasten tightly. Double-check all valves to make sure there’s no room for air leakage.
- Switch on the generator. Let it run for a few minutes and then switch on the blower. Your inflatable should begin blowing up.
- Have a feel for your inflatable’s heft and density every few seconds to make sure that it is filling up.
IMPORTANT: Make sure NOT to overfill your tunnel. Stretching the inflatable’s fabric too far beyond its elastic/terminal limit might cause it to rupture.
- Once the inflatable achieves peak tautness, the constant-airflow fanning system should kick in and work in tandem with your blower to regulate your inflatable’s air pressure.
- If the inflatable uses a sealed design (smaller tunnels will) switch off the blower once the inflatable gains a decent amount of tautness, carefully disconnect the nozzle, and seal back the inlet valve(s).
Step 3 - Anchorage + Post-Set-up Care

Once the setup is complete, ensure that your inflatable tunnel is securely anchored to the ground.
For this, you will need safety cones, a hammer, ground stakes, and rope to anchor your inflatable firmly into the ground.
While smaller tunnels can be simply fastened onto a couple of cones, larger tunnels need to be tied to thick ground stakes, especially if there’s a lot of wind in the area.
REMEMBER, the larger the inflatable, the more poles/stakes you’ll need.
When done properly, your inflatable will be able to withstand strong winds and sudden forces from being leaned on or shoved accidentally.
Keep these tips in mind during and after the setup:
- Mind the weather: Hot temperatures and strong winds put a strain on inflatables’ fabric.
- Safety first: Inspect your site of inflation before and after, for debris, small rocks, and sharp sticks.
- Invest in a high-quality inflatable tunnel: Especially if it’s meant to be an advertising product.
- Be mindful of storage: Choose a cool, dry, undisturbed place far from the reach of pests, pets, and children.
-
Clean your inflatable regularly: This is to prevent mold or mildew from accumulating in its folds and underlays.

Purple Football Inflatable for the Trojans Team
Most customized inflatables are manufactured with oxford nylon and PVC vinyl-infused fabric.
To scrub the tunnel fabric clean after the game, use a wet cloth that’s been treated with a non-abrasive cleaning agent such as baking soda.
IMPORTANT: Do NOT use acetone, bleach, or thinner, as those chemicals can corrode the dye-sublimation print coloring your inflatable.
MVP Visuals: Your Source for Sports-Themed Inflatables and Brilliant Custom Prints
Making a statement at sporting events has never been easier.
The fully customizable inflatable football tunnels from MVP Visuals take sports tunnels to a whole new level.
At MVP Visuals you don't just get custom football tunnels you’ll love; you also get MVP-level service!
Having worked with brands such as Puma, Whole Foods, Facebook, Harvard University, Reddit, and NASA, we have developed a set of professional values and guarantees that represent who we are and what our company aspires to be:
- Above & Beyond: We care for our customers on a human level.
- Culture of Positivity: Our attitude affects everything.
- Open & Honest: Open communication is critical to our success.
- Always Evolving: We are constantly improving our processes and ourselves.
A Tunnel We Made: Cypress Creek High School

Cypress Creek High School’s Custom Inflatable Helmets & Tunnels
Looking to add more flair to this event to make it a special experience for everyone, Cypress Creek High School decided to reach out to us for unique custom inflatable helmets and tunnels.
They chose custom inflatable tunnels decked out in their gold and green glory to make a big, bold impression at the entry.
In choosing this specific design, they were able to maximize their investment and use the tunnels at other events throughout the year, not just football games.
Frequently Asked Questions

White and Blue Eagles Custom Inflatable Tunnel
What’s the best design for an inflatable football tunnel?
Your team’s design choice largely depends on your personal preferences and how well and creatively your manufacturer manages to replicate the perfect custom layout.
Will I need to leave the blower and generator running throughout the game?
Yes. For most large tunnels anyway.
You might be able to get by with just a single blower unit if your tunnel uses a sealed design, but with larger custom inflatable tunnels (which happens to be most of them), there’s no getting around having to leave both machines on during the game.
Share on Facebook:


