When it comes to event advertising and marketing, nothing quite catches the eye like a super-sized, custom inflatable.
They’re excellent for attracting the attention of an event audience and increasing engagement for your brand.


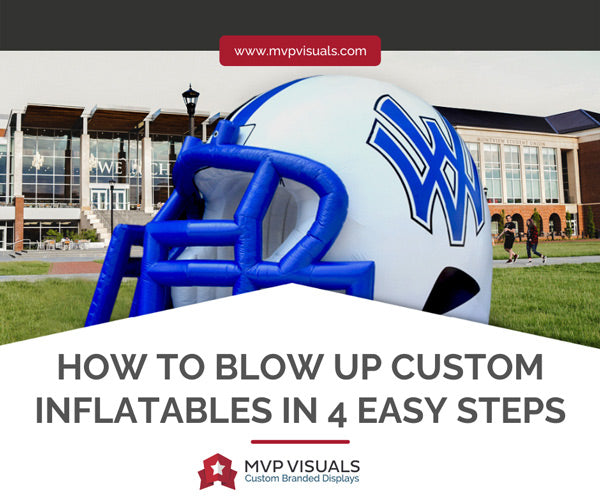
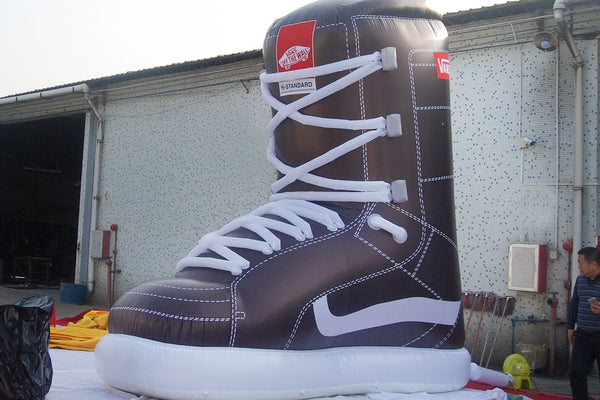
The really cool thing about it is, with where printing technology is today, you can pretty much recreate a replica of whatever 3D item you like. Super-sized helmets, 15 ft. gorillas, animals, boats, shoes, tunnels, and archways for sporting events—the sky your imagination is the only limit.
So, how should you go about blowing up your custom inflatable? What considerations should you keep in mind throughout the process?
To help you get started right away, we’ve condensed the entire process into four detailed steps.
Follow them to get your inflatable swole!
Step 1 - Preparing The Site

The first step has two parts.
- The first thing you need to do is make sure that you have the right permits to erect your inflatable.
Even if your site is on a privately hired property, you still need to contact the relevant authorities (event organizer, utilities company, local zoning officials).
They will help map out your space and mark up specific areas that might be unsafe, especially if the site is near a busy road, on top of a building, or if there are trees, powerlines, or telecom poles nearby.
While specific statutes regarding inflatables differ across states in the U.S., health and safety laws apply to the use of inflatables in all public and private spaces.
Currently around 50% of all the states require only that one’s inflatables be registered and inspected by state officials before they are used for public events. In cities such as Tomball, Katy, and Houston (Texas) as well as Columbia (South Carolina), inflatable advertising has been outrightly banned.
- Once the site has been marked, proceed to clean BOTH your sites. Dust it thoroughly as you inspect it for anything that could damage your inflatable. Look for:
- Debris
- Wooden sticks
- Sharp-edged pebbles
- Fallen tree barks
- Sharp metallic parts
Step 2 - Setting Up The Blower

Next comes the machine prepping stage.
Since you’re going to be dealing with commercial-sized inflatables, smaller-scale air blowers— like the ones used for inflating an air mattress or an exercise ball—won’t be of much help.
You’re going to want to get a professional, industrial air blower—the average commercial unit of which will run you anywhere between $150 to $900—but never fear, at MVP Visuals every custom inflatable purchase comes with the exact blower you'll need, free of charge. However, you will need to figure out how you’re going to power it.
Your concerns here are two-fold: pressure and power.
Pressure: What's the right amount?
The standard air-pressure level of your blower will determine how long it’ll take to get your inflatable filled up.
A big part of what determines how much pressure you’ll need lies with your inflatable’s size as well as its air circulation apparatus.
More specifically, is it a sealed design or a continuous-airflow design?
- Sealed inflatables: have pressure valves that can take in air at maximal pressure and trap it in for as long as they remain closed and relatively undisturbed
- Continuous-airflow inflatables: have an built-in fanning system that allows air to escape automatically when it gets too hot or inflated
For instance, a gigantic inflatable (such as this football field) that consists of several composite units will host a continuous-airflow system that would need at least four heavy-duty blowers each of at least 25 CFM (with a generator-supplied power to each unit—see the next heading).
For comparison, see how pressure needs vary across various custom inflatables:
| Inflatable Size | Pressure Level |
| Life-sized panda mascot | 2 CFM at 90 PSI |
| Super-sized helmet + tunnel | 5.5 CFM at 90 PSI |
| 10 linked soda cans on either side of a marathon track | 20 CFM at 90 PSI |
| Custom soccer field | 40 CFM at 90 PSIS |
*CFM: The volume of air blown in cubic feet per minute.
*PSI (Slip): The number of revolutions needed for your blower to exert 1 PSI (pounds per square inch) worth of force.
Whereas the CFM represents the amount of air that’s compressed and passed through the blower’s nozzle, the PSI speaks to the air pressure (or blowing speed, if you will)—i.e., the actual force of exertion with which air is being sent in through the inflatable’s inlet.
Power: Mains or Generator?
While a single inflatable (say, a single inflatable archway) of reasonable size might make do with one 240 V mains outlet, with larger commercial-sized inflatables (say, a 20 ft. tall soda can or a dozen linked archways such as would be used in a corporate or sporting event), you're much safer making use of a generator.
Make a point of monitoring the gas level every half-hour or so. For comparison, see how the needs imposed by differently sized inflatables vary in terms of generator power:
| Inflatable Size | Appropriate Generator Size (Kilowatts) | Approximate Gas Cost (Gallons/hour) |
| Life-sized panda mascot | 5 | 0.39 |
| Super-sized helmet + tunnel | 10 | 0.75 |
| 10 linked soda cans on either side of a marathon track | 50 | 3.50 |
| Custom soccer field | 100 | 7.12 |
Also, expect (and accept) some generator noise throughout the event.
REMEMBER: Currently, the legal and medical recommendations for immediate-environment noise are 55 decibels (threshold level that allows for a comfortable conversation) and 75 decibels (threshold level above which hearing loss can occur).
In any case, the accrued pay-off should a blackout occur far outweighs any extra noise that might beset any large-scale, exterior-set corporate event.
Step 3 - Fill ‘er Up!
We arrive at the most important and easiest part of the setup: blowing up the inflatable.
You should have your inflatable strewn across your site with your blower already connected to the generator.
Before switching on the machine, ensure that the blower and inflatable are both placed on a stable underlay.
To fill up your custom inflatable, here’s what you do:
- Locate the suction/entry latches on your inflatable and unfurl the blower’s cabling enough so that it leaves enough length to lay comfortably on the ground.
- Connect the blower’s nozzles to the inflation valves and fasten tightly.
- Switch on the generator. Leave it on for a few minutes to charge up, and then switch on the blower. Your inflatable should begin to erect as soon as it begins to fill up with air.
- Have a feel of your inflatable’s heft and density every few seconds to check that it is indeed filling up. Once the inflatable achieves peak tautness, the constant-airflow fanning system kicks in and works in tandem with your blower to regulate your inflatable’s air pressure.
- If the inflatable uses a sealed design, switch off the blower once the inflatable gains a decent amount of tautness, carefully disconnect the nozzle and seal back the inlet valve(s).
IMPORTANT: Make sure NOT to overfill your inflatable. Stretching the inflatable’s fabric too far beyond its elastic/terminal limit might cause it to rupture.
By keeping an eye on the inflatable’s density throughout the process, you ensure that it sustains a reasonable amount of tautness; that it’s neither too flaccid to stand firmly nor so taut that any piece of blunt debris can perforate it.
Step 4 - Stabilization & Post-Set-up Care

Once the set-up is complete, ensure that your custom inflatable is securely anchored to the ground.
For this, you will need to use a hammer or mallet, ground stakes, and some rope to fasten your inflatable firmly into the ground. Remember the larger the inflatable, the more poles/stakes you’re going to need.
If you’re using your inflatable on concrete or other surfaces where you cannot use ground stakes, you can secure it to water jugs, concrete blocks, or nearby trees.
When done properly, your inflatable should be able to withstand strong winds and sudden forces from being leaned on/shoved accidentally.
Keep these tips in mind during and after the set-up:
- Mind the weather: hot temperatures and strong winds put strain on inflatables’ fabric
- Safety first: check your site before and after, for small rocks, sharp sticks, and debris
- Invest in a durable, high-quality inflatable: especially if it’s meant to be an advertising product
- Be mindful of storage: choose a cool, dry, undisturbed place far from the reach of pests, pets, and children
- Clean your inflatable regularly: to prevent mold or mildew from accumulating in its folds and underlays
To do this, use a wet cloth that’s been treated with a gentle, non-abrasive cleaning agent (baking soda).
Most customized inflatables are manufactured with oxford nylon and PVC vinyl-infused fabric, so cleaning them might require extra care.
IMPORTANT: Do NOT use acetone, bleach, or thinner, as those chemicals possess a harshness that can corrode the dye-sublimation print that so beautifully colors your inflatable.

MVP Visuals. Perfect Experience. Impeccable Products.

There are those out there for whom inflatables are serious business and that is why it is ours as well.
Since 2006, MVP Visual has helped brands increase their return on investment for event activations with beautiful, custom displays.
Having worked with brands such as Puma, Whole Foods, Facebook, Harvard University, Reddit, and NASA, we have developed a set of professional values and guarantees that represent who we are and what our company aspires to become:
- Above & Beyond: we care for our customers on a human level
- Culture of Positivity: our attitude affects everything
- Open & Honest: open communication is critical to our success
- Always Evolving: we are constantly improving our processes and ourselves
A Proud Success Story: Visit California

Over the years we’ve created over 100 custom branded displays for Visit California.
Some of the first items we created for them were custom inflatables and branded trade show table covers.
What we did: At an event with other tourism brands from all over the country competing for attention—and, subsequently, income opportunity—we placed these pieces at key areas and activities throughout the sponsored event ensuring that Visit California’s brand would stand out, be remembered by attendees, and most importantly, cement their reputation that they knew how to give people a memorable experience they’d enjoy.
That being the motivation behind this robust industry, we were able to help Visit California, and many other clients, fulfill what they set out to do during one of their most critical initiatives of the year.

Share on Facebook: